A staircase is the one piece of Christmas decor you see from almost everywhere in the house. You pass it a dozen times a day, guests see it the moment they step inside, and it photographs beautifully from the hallway below. Yet most people leave it bare until the last minute, then drape a thin garland over the rail and hope for the best.
The problem is usually not effort, it is proportion. A staircase is tall, long, and open on at least one side, so anything skimpy disappears. A single strand of garland looks lost against a full banister, a few ornaments rattle around without making an impression, and lights strung too loosely read as an afterthought rather than a feature.
Done well, though, a staircase pulls the whole house together. The trick is to treat it like a room of its own: layer garland for fullness, add light for warmth, use ribbon for polish, and finish the details at the steps, the newel post, and the landing. This guide walks through each layer in order, so you can build a staircase that looks deliberate from the front door to the top step.
Start With Garland That Actually Looks Full
 Save
Before you buy garland or lights, take stock of the staircase itself. Measure the banister run from bottom to top, note the banister type, wood, metal, glass, or none, and check how much light the hall gets after dark. Name the ribbon colour and light temperature already used in the rooms the staircase connects. Garland fullness, light choice, and ribbon colour all follow from those facts.
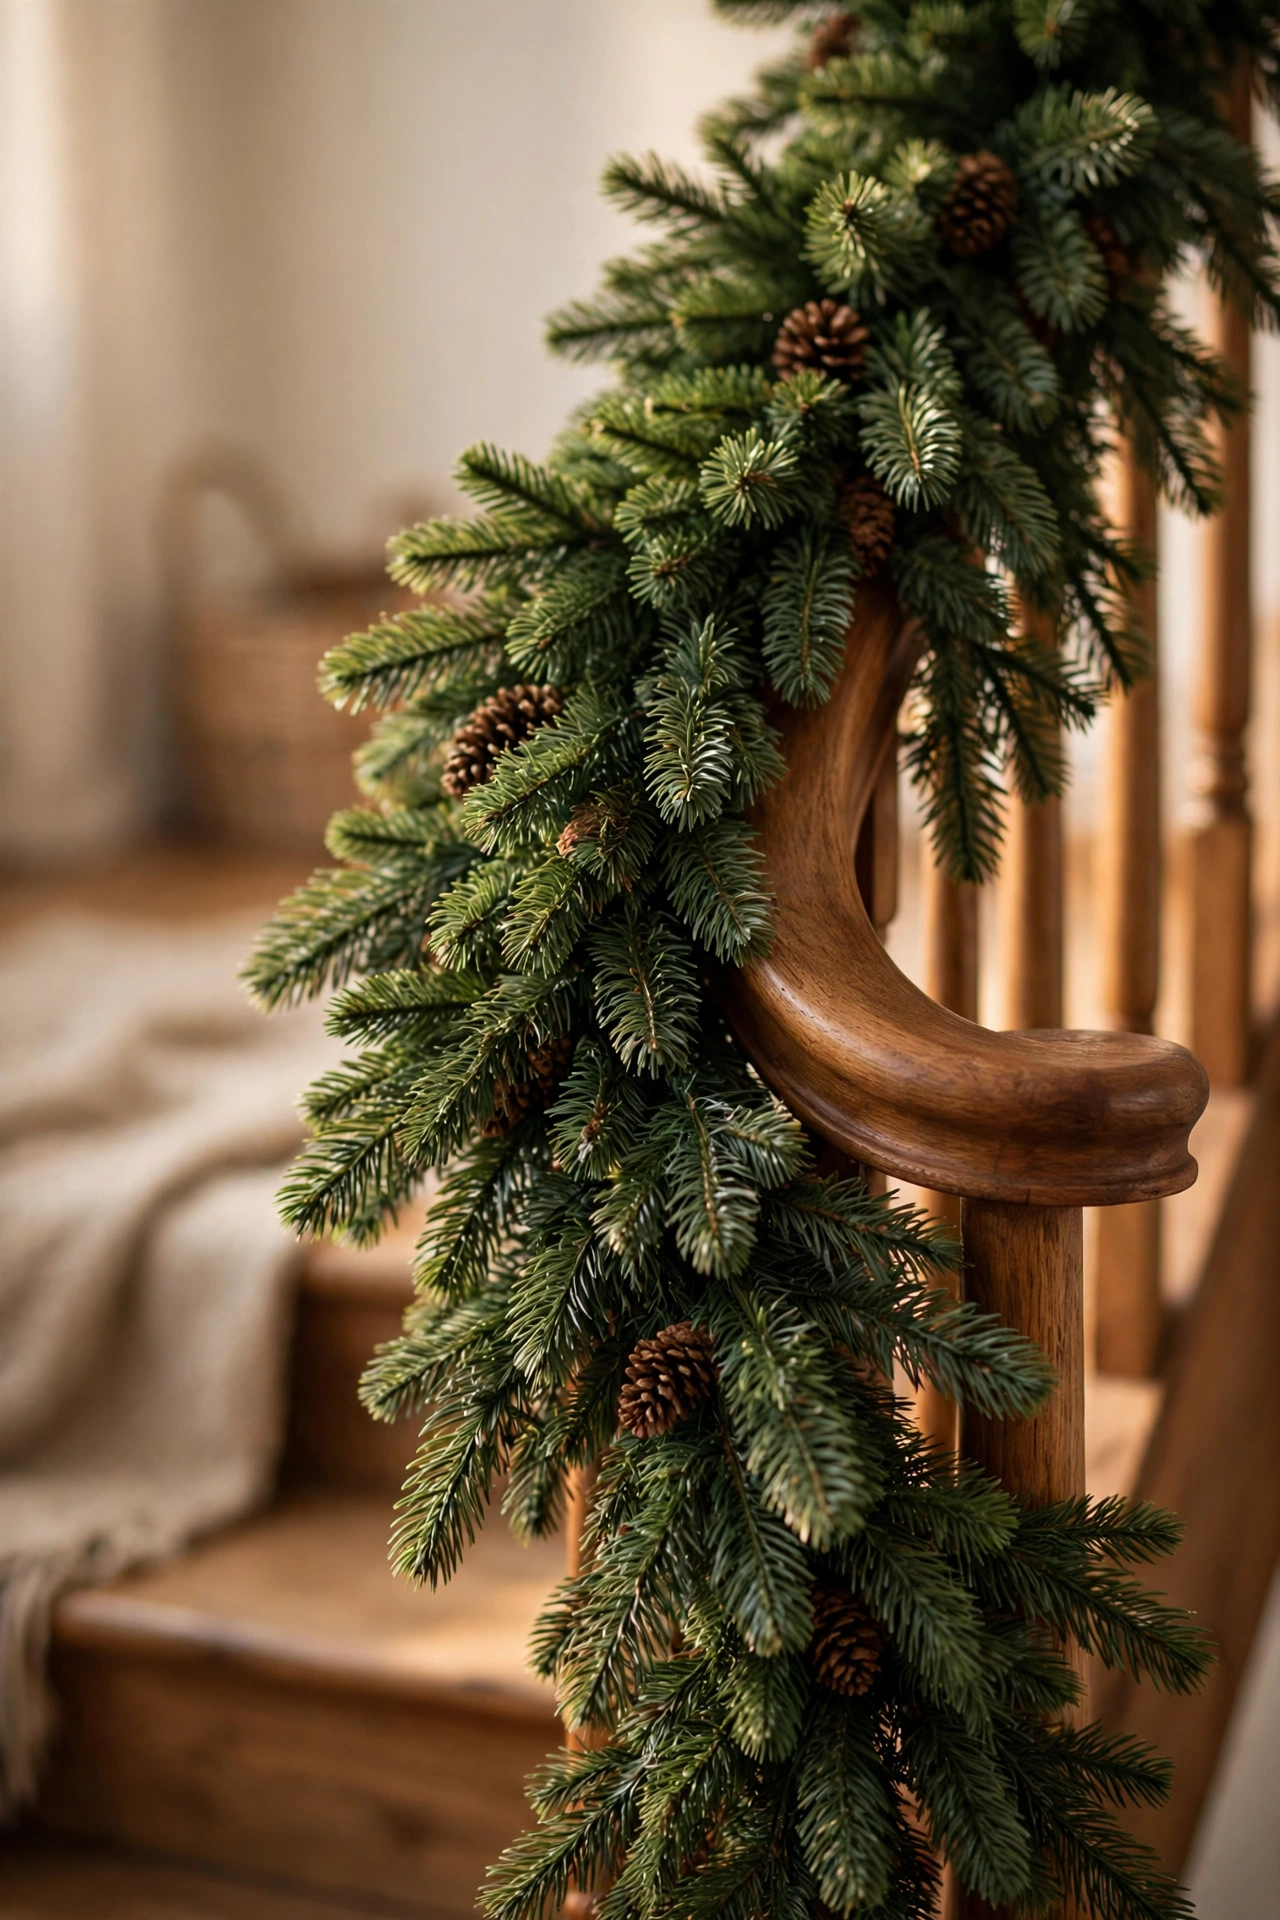
Fullness is the foundation of good christmas staircase decor, and it starts before a single ornament goes on. One thin strand will never fill a banister, so plan on two strands twisted together for a standard staircase, or one thick, pre-lit garland plus a plain one woven through it. Fluff every branch outward before you hang anything, pulling tips forward, sideways, and down, until the garland looks twice as wide as it did in the box.
Hang the garland in a gentle swag rather than a straight line. Let it dip between attachment points so it has movement, with the lowest point of each swag falling roughly a third of the way down the banister section. Fasten it with green zip ties or floral wire at the top, middle, and bottom of each run, hidden inside the foliage so nothing shows. A swag that sags in the middle by January usually means it was tied only at the ends, so add a middle tie even if it feels like overkill.
Mix textures if you can. A base of plain fir or pine, layered with a cedar or eucalyptus strand, reads far more natural than one uniform garland repeated for twelve feet. Tuck a few real pinecones, dried orange slices, or sprigs of faux berries into the outer layer once the base is secure. Keep additions spaced a foot or more apart so the garland still breathes, and step back to the hallway floor to check the overall shape before you move on.
Styling tip: Work from the top of the stairs down, not the bottom up. Gravity helps you here: each swag settles naturally into the next, and you can adjust the drape as you go instead of fighting a finished bottom section.
Light It Like You Mean It
 Save
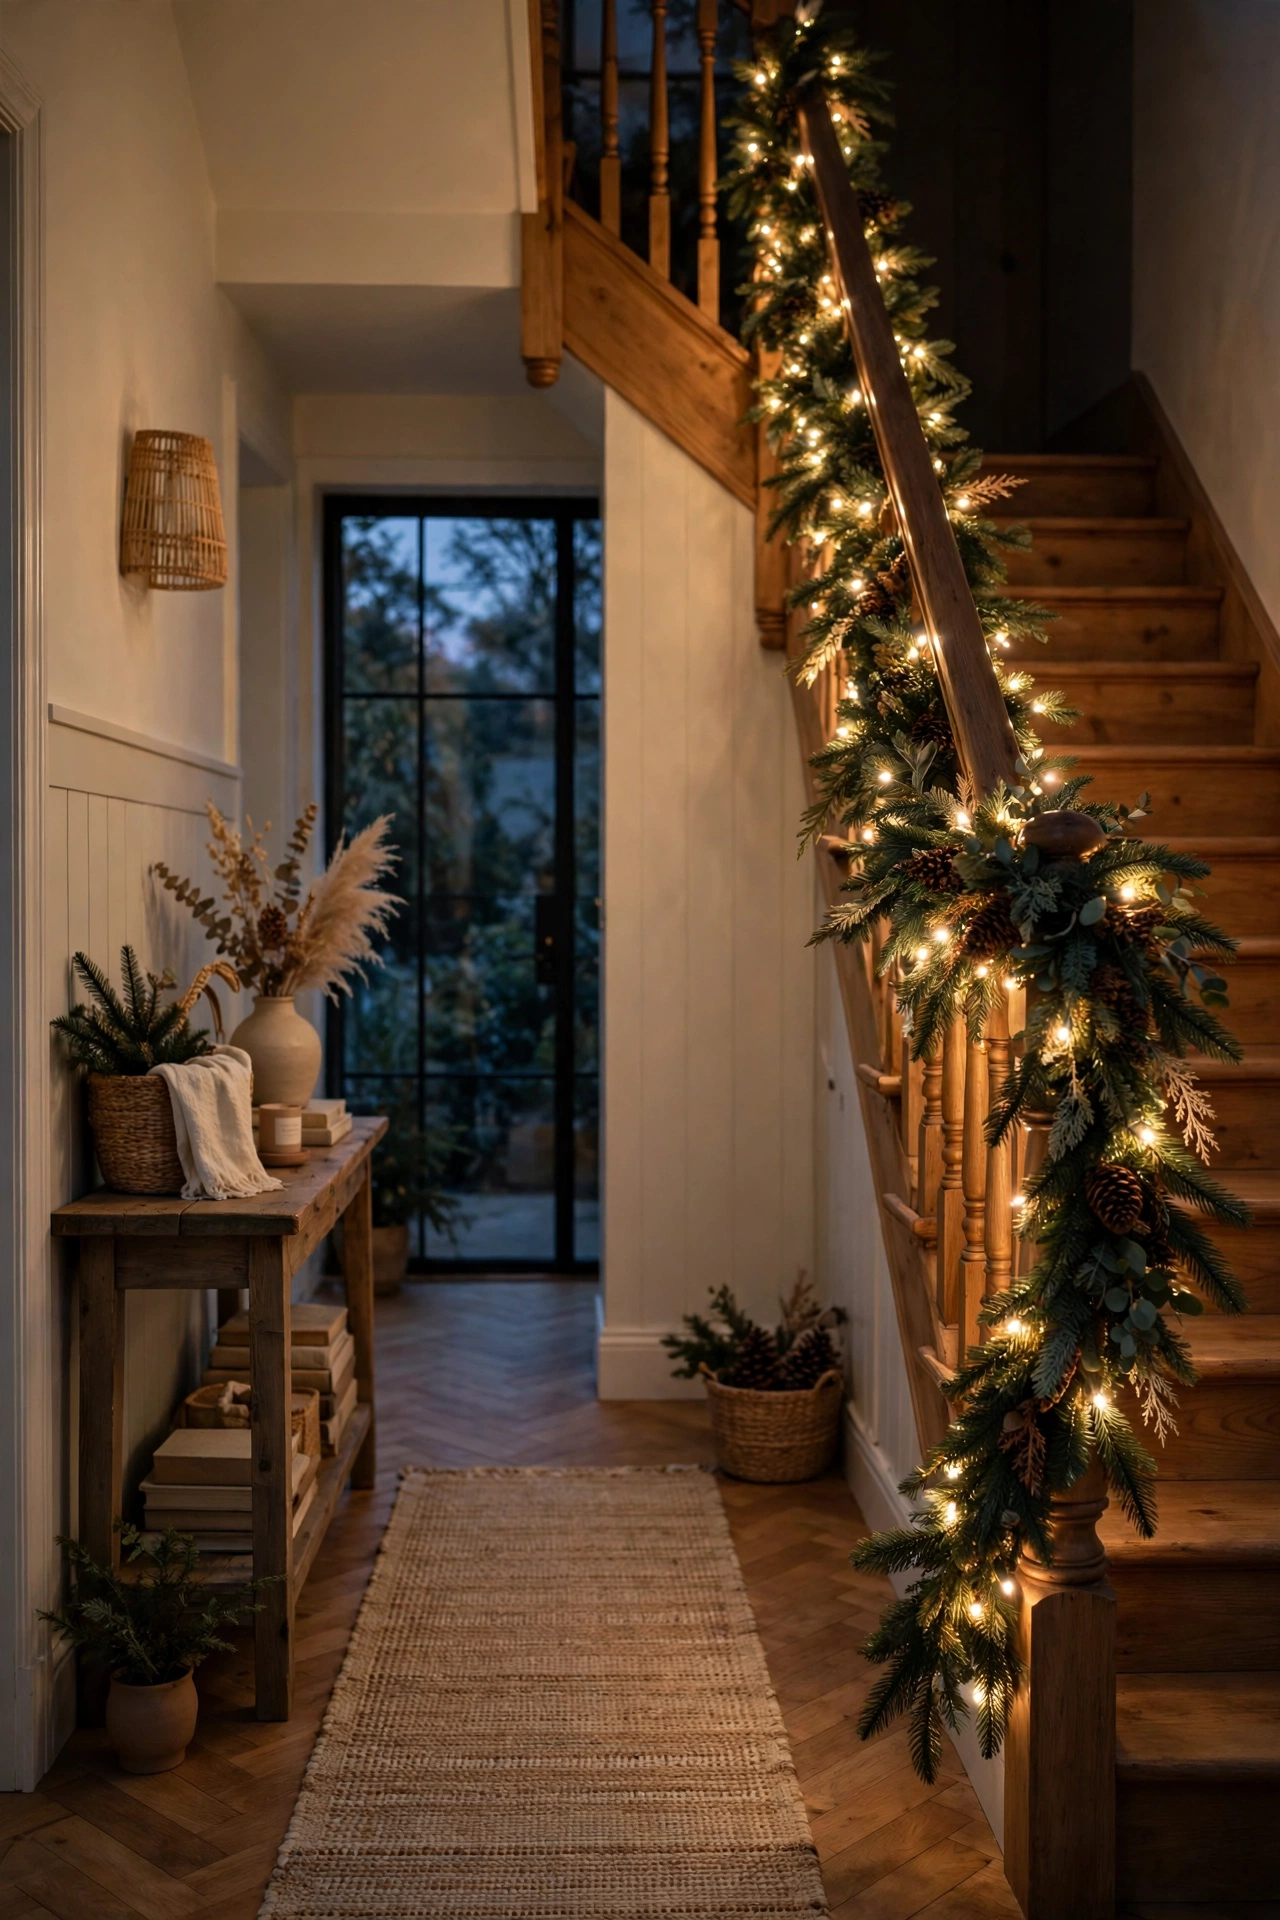
Lights are what make a staircase glow after dark, and they deserve the same care as the tree. Warm white is the safest choice for most homes, giving wood banisters a honeyed tone that cool white tends to flatten. If your house already leans modern, with black metal rails and pale walls, a soft cool white can work, but pick one temperature and stick to it across the whole staircase.
Weave the light strand through the garland rather than draping it on top. Thread it in and out of the foliage so bulbs sit at different depths, some tucked inside, some peeking out, which gives the garland dimension instead of a flat outline. Aim for roughly 100 mini lights per six feet of garland, and always plug the strand in and check it before you weave it in. Finding a dead section after everything is tied down is the kind of frustration that ends decorating sessions early.
Battery-operated strands with a timer solve the outlet problem on long staircases. Set the timer for the hours you actually use the hallway, usually late afternoon through bedtime, and keep the battery box tucked behind the newel post or inside a small pouch pinned to the back of the garland. For a staircase near the front door, a plug-in strand on a simple timer is more reliable over a whole season, since batteries fade just when guests arrive.
Budget swap: If new lights are not in the budget this year, reuse last year’s strand and spend the money on one extra garland instead. Fullness reads from farther away than a second light colour ever will.
Velvet Ribbon Makes the Whole Thing Look Finished
 Save
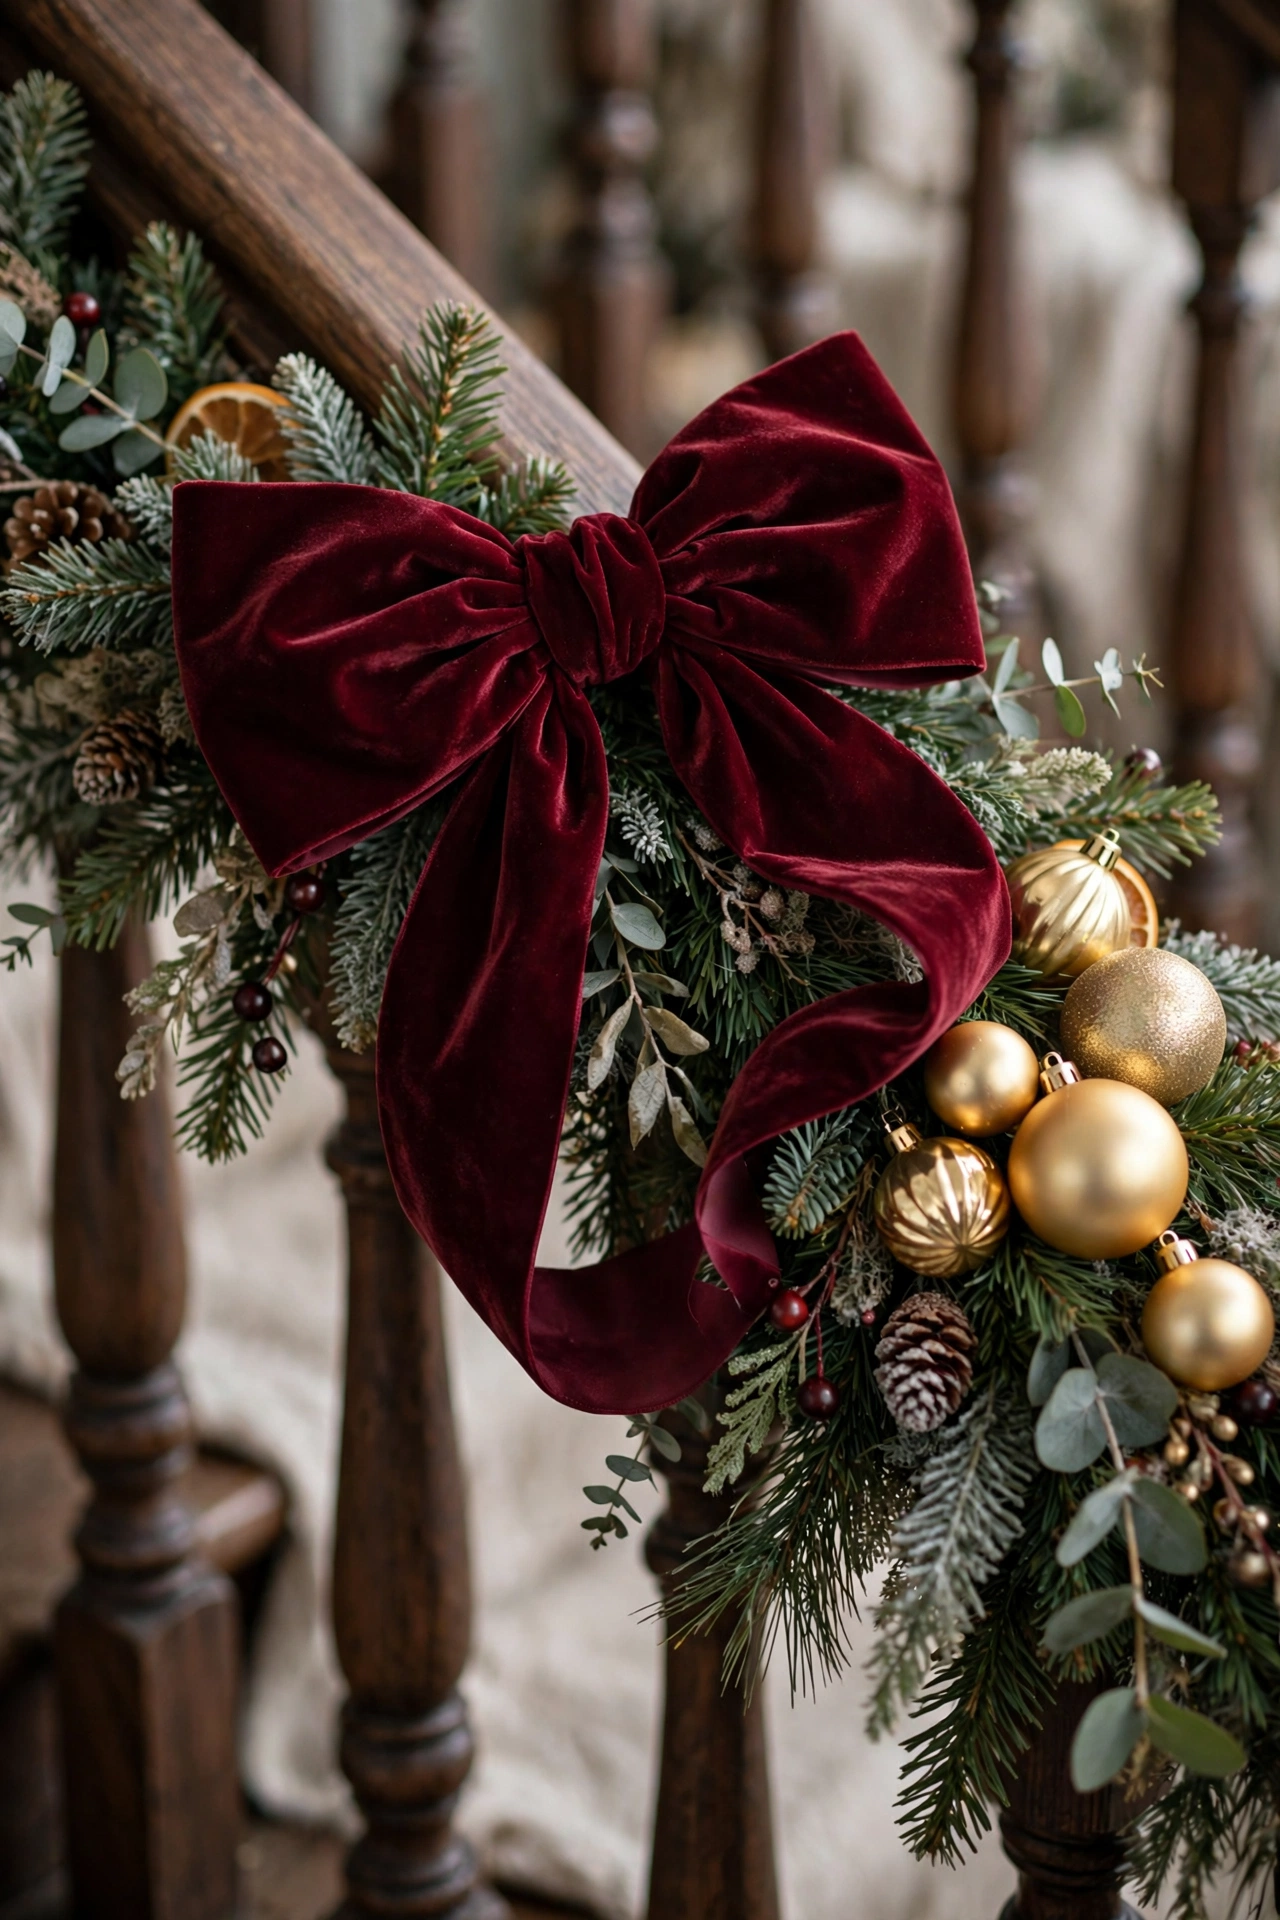
Ribbon is the detail that separates a nice staircase from a polished one, and velvet does the job better than any other fabric. It holds a bow shape without flopping, it catches light softly instead of shining, and it comes in widths that suit a banister: two and a half inches for a standard rail, three to four inches if your staircase is grand or your garland is very full.
Tie bows at each point where the garland swag meets the banister, usually every four to five feet. Make each bow the same way, two loops, two tails cut at an angle, tails roughly eight to ten inches long, and wire the centre tightly to the banister so the bow sits upright rather than sliding sideways. Consistency matters more than perfection: five matching bows look intentional, while five different ones look accidental.
Colour choice sets the mood. Deep burgundy or forest green keeps things classic, champagne or dusty gold softens a neutral hallway, and a bold red works when the rest of the house is traditional. If you already have velvet ribbon elsewhere in the house, match it. Our guide to Christmas bows and velvet ribbon decor shows how the same ribbon can tie a tree, a wreath, and a staircase into one story, and repeating it is the easiest way to make separate rooms feel connected.
Designer note: Cut ribbon tails a little longer than you think you need, then trim after hanging. A bow that is too small looks apologetic, and you cannot add length back once it is cut.
Work With Your Banister, Not Against It
 Save
Every banister type asks for a slightly different approach, and fighting yours is the fastest way to a staircase that looks strained. A classic wooden banister with turned spindles suits a full, traditional swag tied at intervals, with ornaments hung from the rail itself. The wood warms the whole display, so let some of it show: do not bury a beautiful rail under garland so thick that none of the wood is visible.
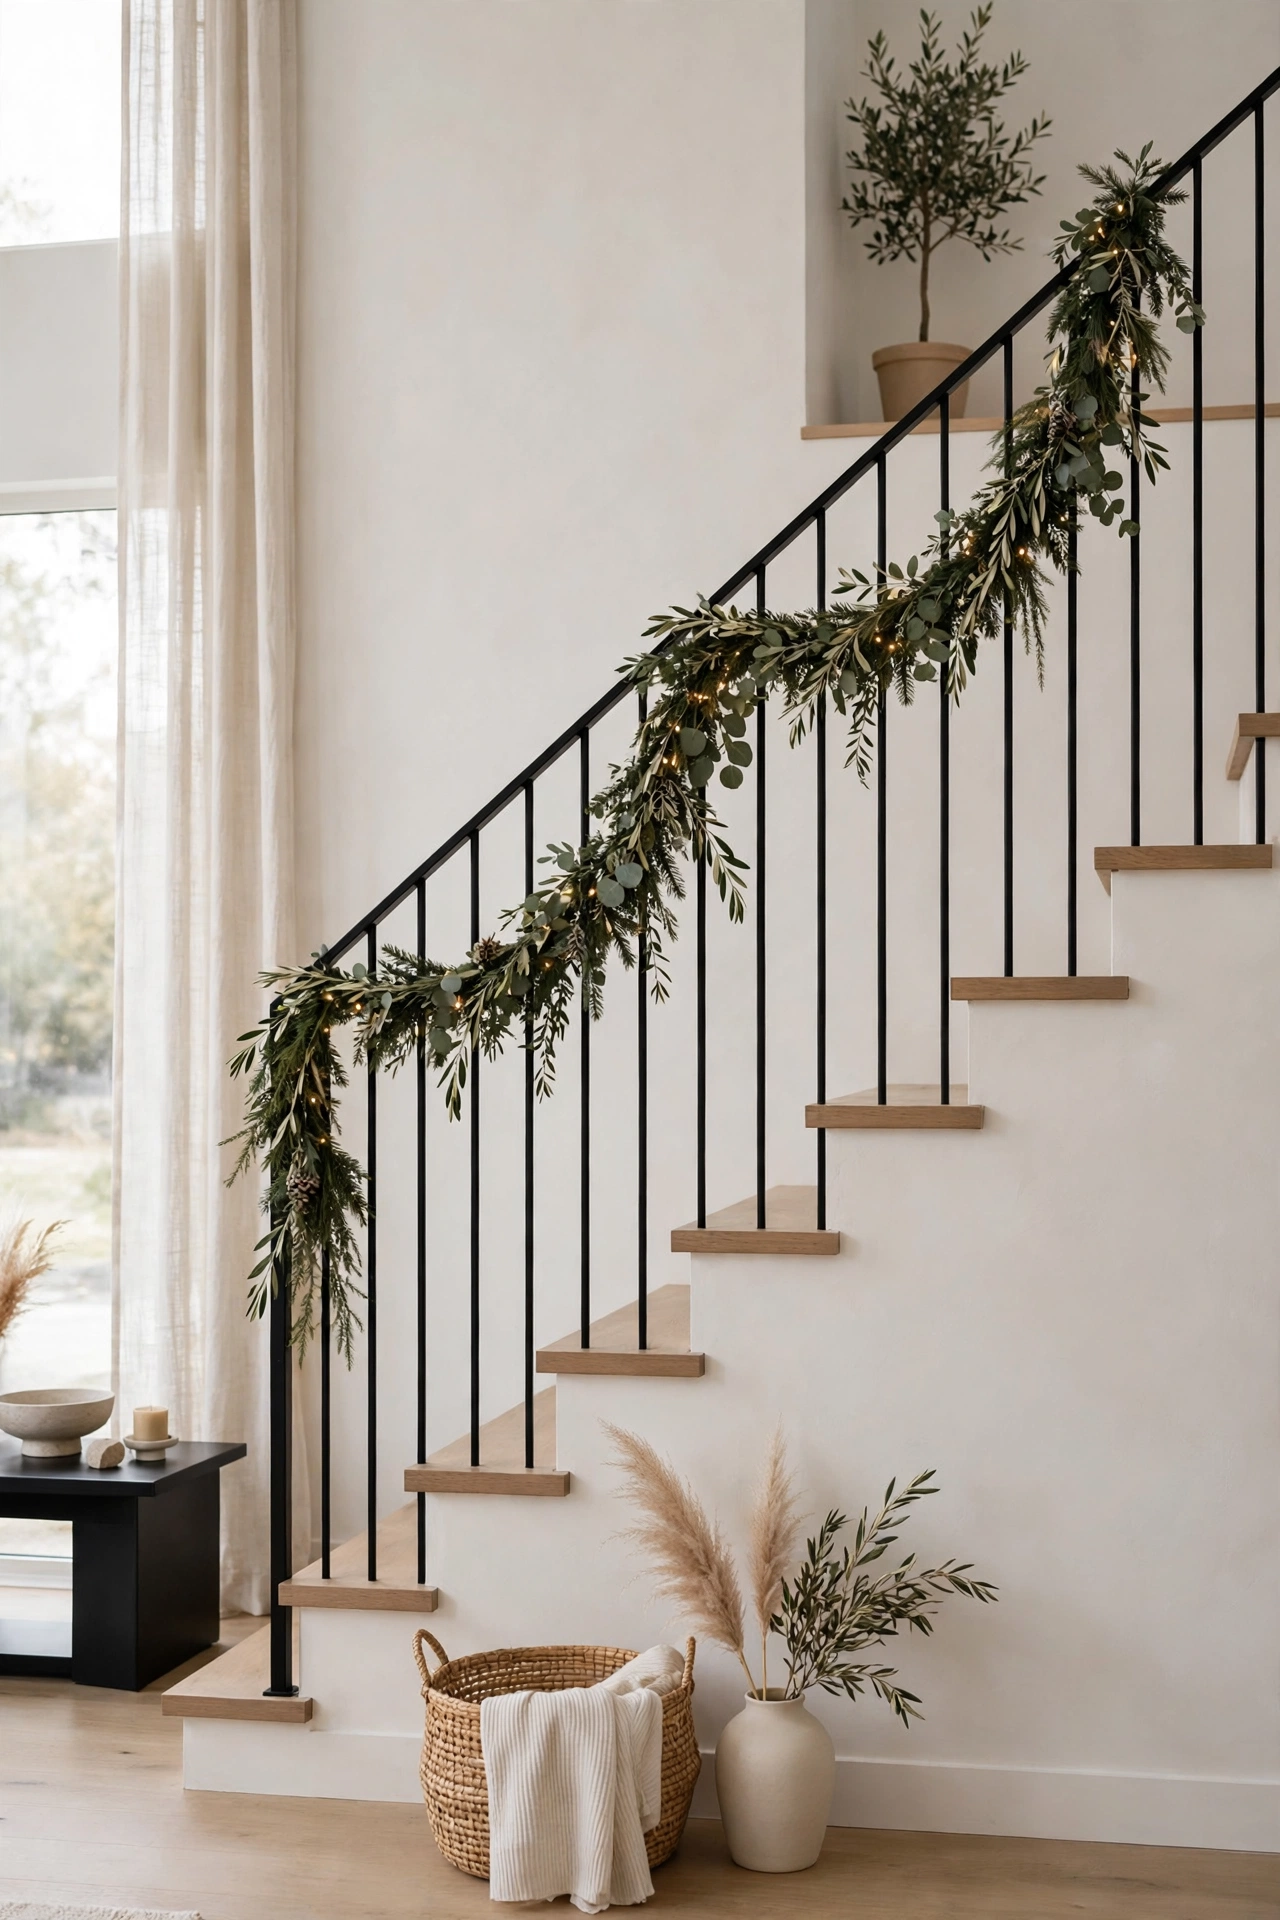
A modern staircase with a metal rail or glass panels needs a lighter hand. Heavy garland overwhelms thin metal, and it cannot be tied to glass at all. Use a slimmer garland, or skip the rail entirely and dress the wall side with a garland shelf or a series of small wreaths hung at stair height. Cable or rod railings take well to a garland laid along the top rail and secured with clear zip ties, kept slim so the open, airy feel survives.
Open risers and floating stairs call for restraint above all. A full swag can look heavy on a staircase designed to float, so try a single slim garland on the handrail only, or decorate the wall beside the stairs with lights and leave the rail bare. If your staircase has no handrail on one side, that wall is your canvas: a row of small framed prints, a length of lit garland on a picture ledge, or stockings hung from a slim wall-mounted rail all work without touching the stairs themselves.
| Banister type | Garland approach | Fixing | Keep clear |
|---|---|---|---|
| Classic wood, turned spindles | Full swag, two strands twisted | Wire at top, middle, bottom | Some wood showing |
| Modern metal rail | Slim garland along top rail | Clear zip ties, slim profile | Open airy feel, grip space |
| Glass panels | No garland on glass, dress wall side | Wreaths at stair height, garland shelf | Glass surface, sightlines |
| Open risers, floating stairs | Single slim garland on handrail only, or wall lights | Light ties on handrail | Bare rail option, walking line |
Dress the Steps Themselves
 Save
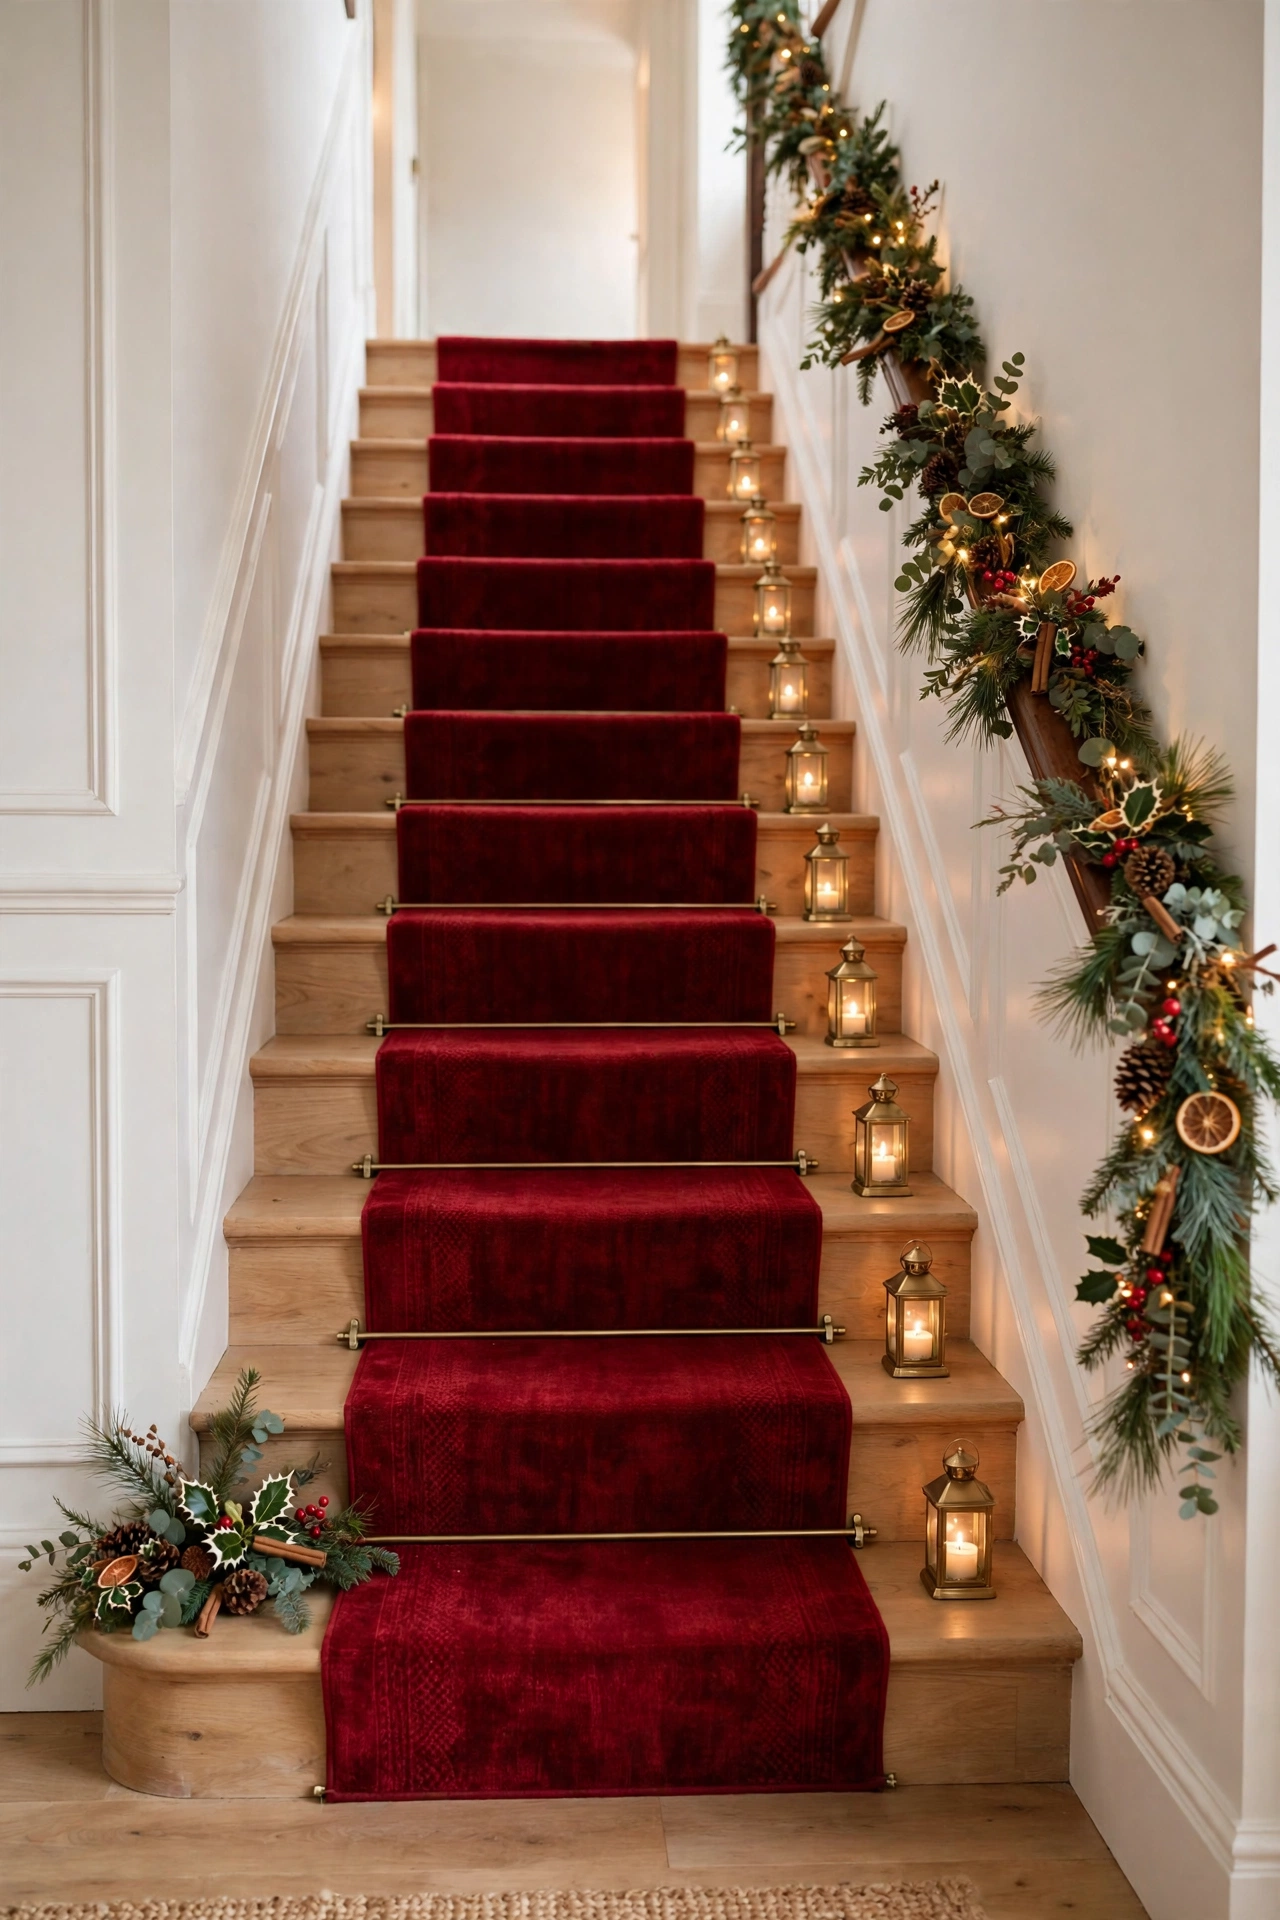
The steps are easy to forget because the garland gets all the attention, but they are what guests actually look at as they climb. A runner changes everything: a washable, low-pile runner in a deep red, green, or neutral pattern softens the climb, muffles footsteps, and gives the staircase a finished, intentional look. Measure the full run before buying, and use proper stair rods or a non-slip pad underneath so the runner never shifts underfoot.
If a runner is not practical, dress the tread edges instead. Small lanterns on every third or fourth step, set tight against the wall side, cast a lovely glow in the evening and leave the walking line clear. Battery candles inside the lanterns are the safe choice here, and they look just as good as real flames through frosted glass. Keep lanterns off the two bottom steps, where bags, coats, and excited arrivals cause the most traffic.
| Step situation | Dress with | Where to set it | Keep clear |
|---|---|---|---|
| Wide steps, quiet household | Small potted plant or lantern | Tight against the wall side | The walking line down the middle |
| Narrow steps, busy household | Nothing on the steps | One statement piece at the bottom step | Every tread, both bottom steps |
| Runner fitted | Lanterns on every third step | Wall side, battery candles inside | The two bottom steps |
| Wide mid-stair landing | Lantern or small tree on a stool | Against the landing wall | The path across the landing |
Potted plants and small trees also earn their place on wider steps or a mid-stair landing. A small potted rosemary or Norfolk pine in a terracotta pot, wrapped in burlap and tied with twine, adds life without clutter. One or two is plenty: a staircase lined with plants becomes an obstacle course, and nobody wants to carry a laundry basket past a row of pots.
Try this: Place one statement piece at the very bottom step, a tall lantern, a basket of pinecones, or a small tree, and keep the rest of the steps nearly bare. One strong anchor beats ten small objects every time.
Give the Newel Post and Landing Their Moment
 Save
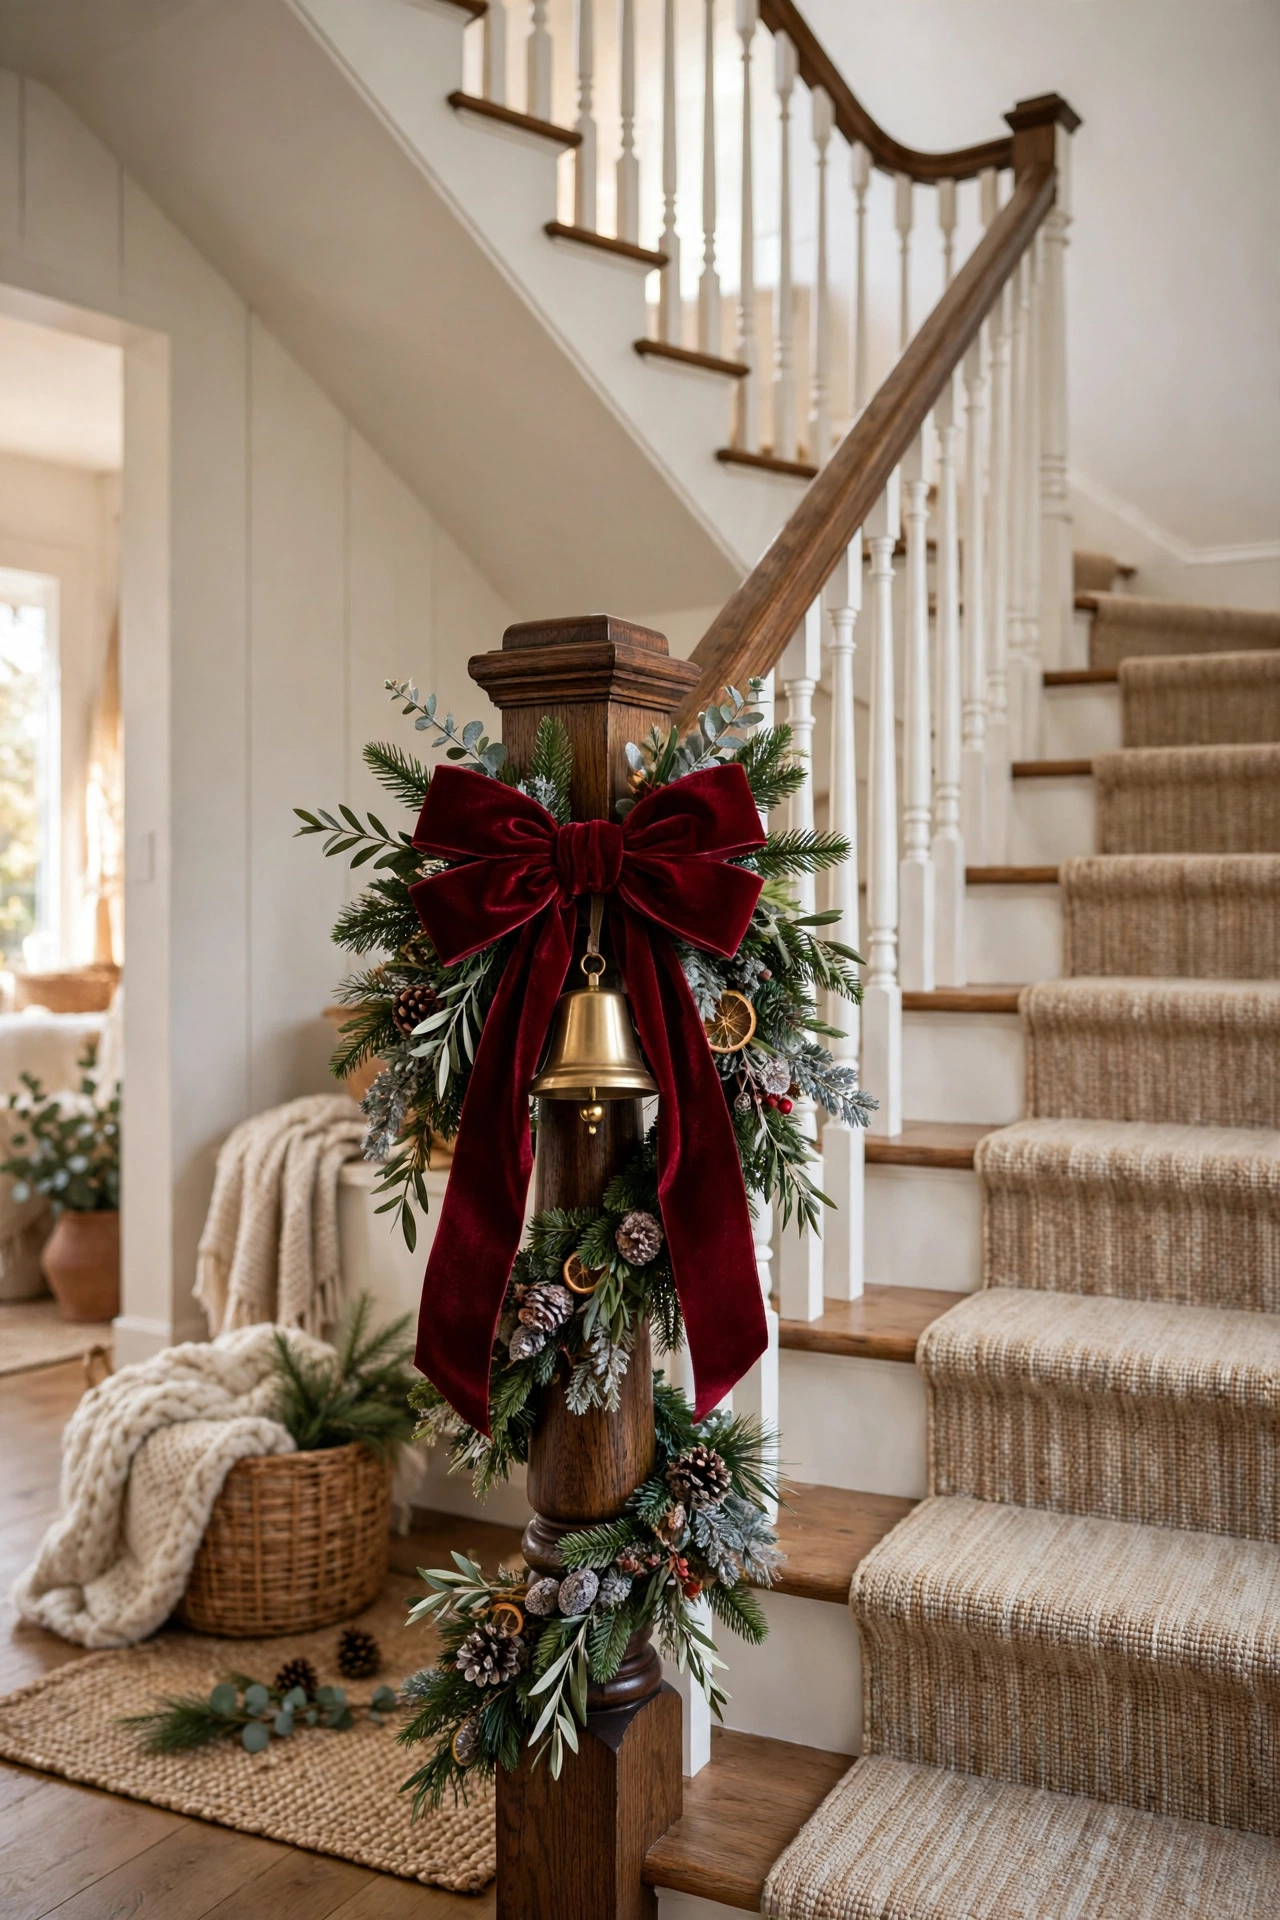
The newel post is the exclamation mark of the staircase, so treat it like one. Wrap the base of the post with the same garland used on the rail, then add a large bow in your matching velvet ribbon at the top of the wrap, where the post meets the handrail. A single oversized ornament, a brass bell, or a small cluster of baubles hung from the bow finishes it without competing with the garland.
If your newel post has a ball or cap, use it as a perch rather than covering it. A small wreath hung from the cap, or a sprig of berries and pine tied just below it, frames the post instead of hiding it. On a staircase with two newel posts, one at the bottom and one at the turn, decorate both the same way: matching posts signal that the whole staircase was planned as one piece.
The landing, where it exists, is a natural display shelf. A console table or a sturdy stool on a wide landing holds a lantern, a small tree, or a stack of wrapped empty boxes that look like gifts. Hang a wreath on the landing wall at eye level, centred on the turn, so it greets anyone coming up the stairs. Keep the landing itself clear of anything that narrows the walking path, and avoid trailing garland across the floor where feet will catch it.
Styling tip: Photograph the newel post from the front door before you call it done. That is the angle guests see first, and a bow that looks perfect from the stairs can sit crooked from the hallway.
Keep It Safe, Sturdy and Pet-Proof
 Save
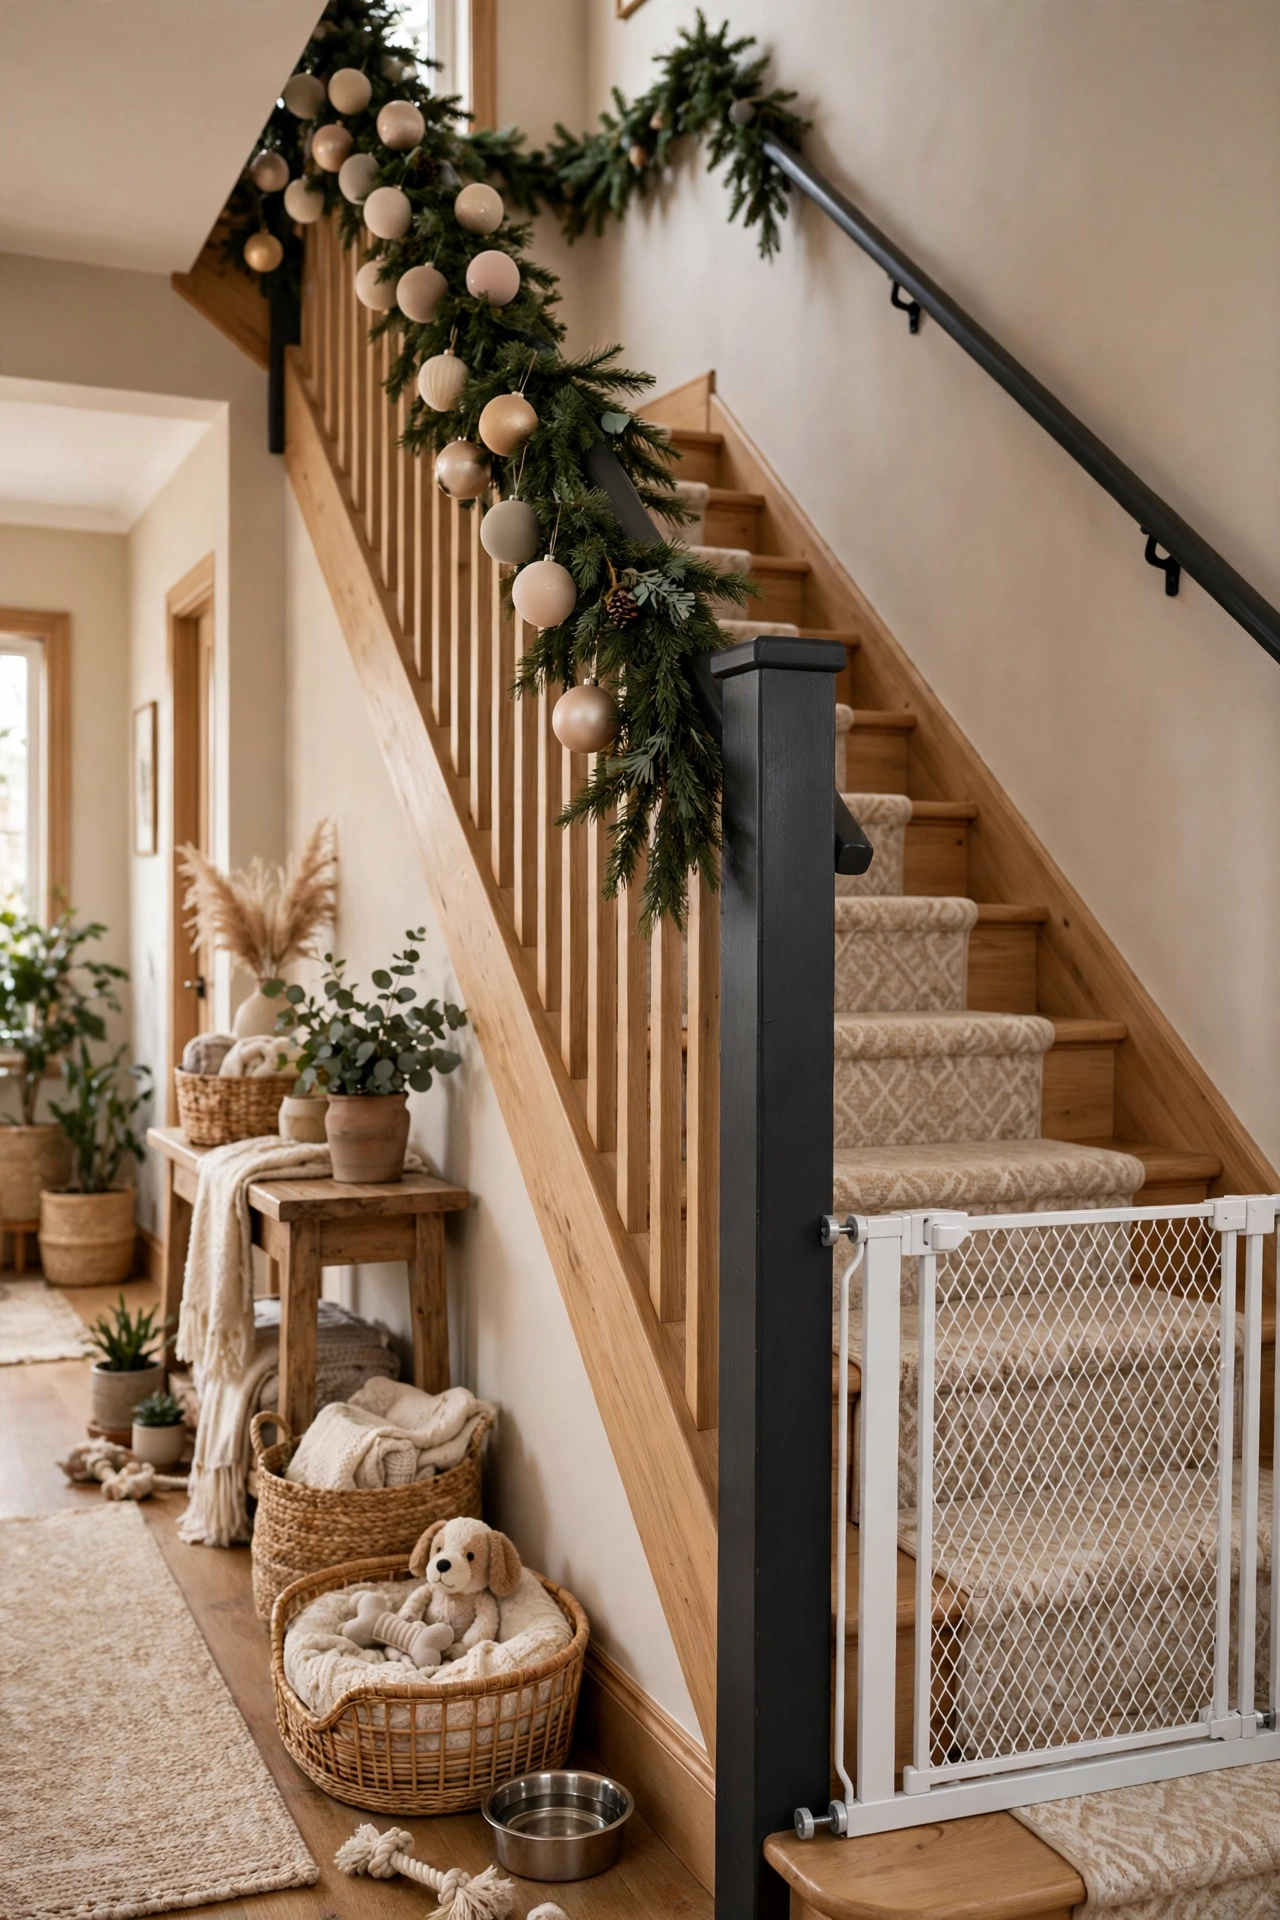
A beautiful staircase that wobbles, sheds, or trips someone is not a success, so build safety into the plan from the start. Fasten garland firmly enough that a child grabbing the rail cannot pull it down, and tuck all wire ends, zip tie tails, and light plugs inside the foliage where small hands cannot reach them. Check that the handrail itself is still grippable: if garland covers the rail so thickly that nobody can hold it, thin the garland at hand height and keep the fullness above and below.
Test it first: climb the finished staircase slowly, holding the rail as a guest would, and tug each garland tie gently. Check your hand finds bare rail at gripping height, no cord crosses a tread, and no lantern or pot sits in the walking line. If anything wobbles, blocks the grip, or catches a sleeve, thin that spot now, before children and pets test it for you.
Lights need the same caution. Keep plugs and battery boxes off the steps, run cords along the wall side rather than across treads, and never staple through a light strand. LED strands stay cool to the touch and are the right choice near dried foliage, real or faux. If you use real pine garland, keep it away from candles and check it weekly for dryness, since a dry garland near a heat source is a genuine fire risk.
Pets add their own rules. Cats climb garland, dogs chew ribbon tails, and both will investigate anything that dangles at nose height. Hang breakable ornaments high, out of reach, and use shatterproof baubles on the lower half of the staircase. Skip tinsel and anything with small detachable parts on the bottom three feet, and choose ribbon tails that hang against the rail rather than swinging free where a paw can hook them.
Make the Staircase Flow With the Rest of the House
 Save
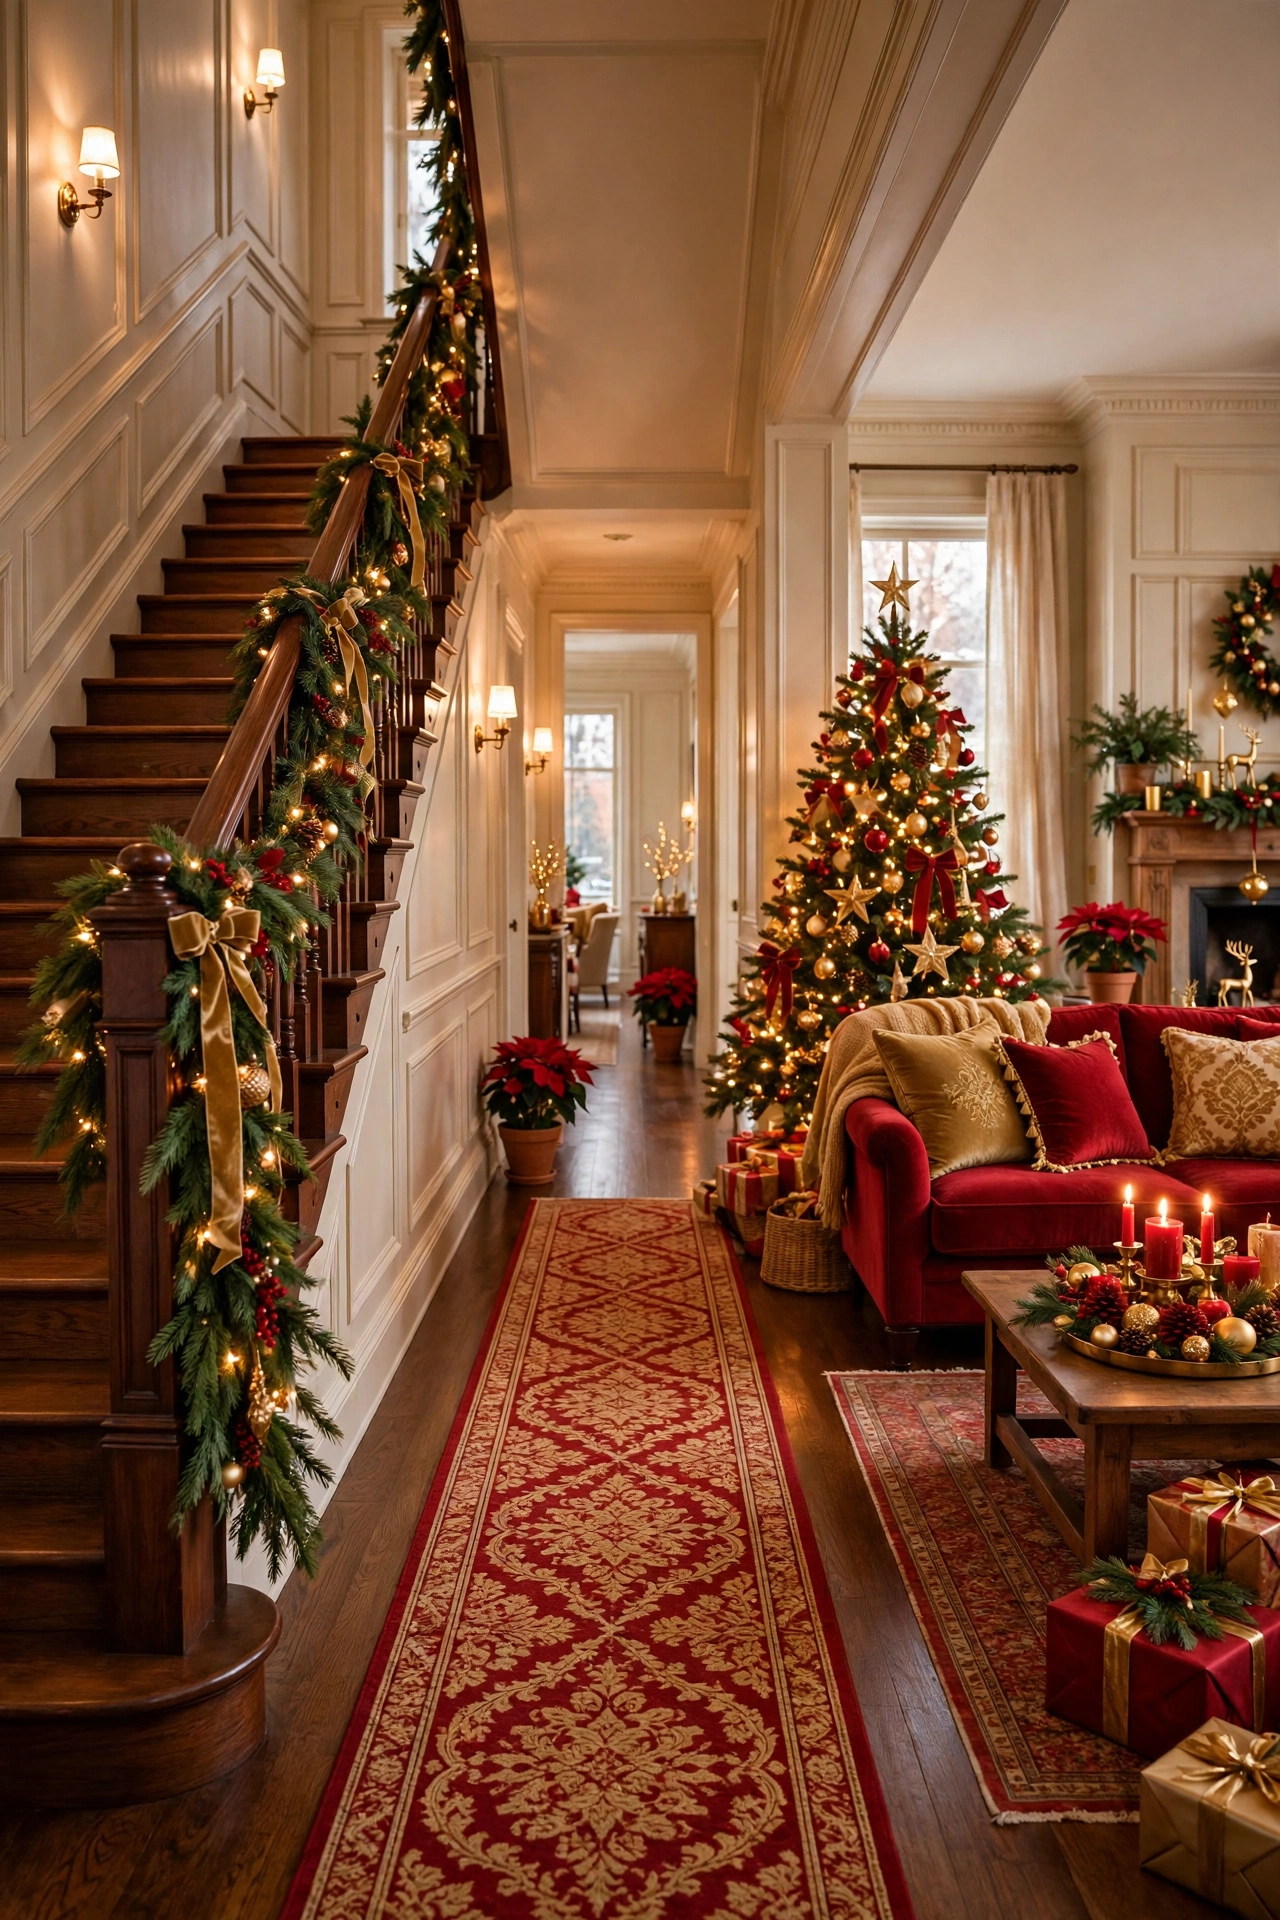
The final step is not on the staircase at all: it is checking how the staircase looks next to everything around it. Stand in the hallway and look toward the rooms the staircase connects. If the entryway is already dressed, the staircase should echo it, not compete with it. Our Christmas entryway decor ideas use the same principle, a welcoming first impression built from a few repeated elements rather than a new theme at every doorway.
Repeat two or three elements across the house and the staircase will feel like part of the story. The same velvet ribbon on the tree and the banister, the same warm white lights on the mantel and the garland, the same pinecones or dried oranges in two or three rooms, these repetitions are what make a house feel decorated rather than merely filled. The Christmas mantel decor in your living room is a good partner here, since mantel and staircase are often visible from the same spot.
Colour discipline matters most at this stage. Pick one metallic, gold or silver, and one accent colour, and let everything else stay neutral. A staircase in red and gold next to a living room in blush and silver will fight, even if each room looks good alone. If you already have a Christmas living room scheme in place, pull the staircase colours from it rather than starting fresh, and the whole ground floor will read as one calm, festive space.
Budget swap: If the budget only stretches to one new purchase this year, buy ribbon. It is the cheapest way to connect rooms, it stores flat, and it transforms a staircase you already own.
Your takeaway: two strands twisted for fullness, warm light woven inside the foliage, matching velvet bows at every swag point, and the handrail left grippable.
Bringing It All Together
A Christmas staircase does not need to be elaborate to be lovely. It needs full garland, warm light, a ribbon that ties it together, and details that respect the banister, the steps, and the people who use them every day. Build it in layers, check it from the front door, and fix anything that looks thin, crooked, or unsafe before the first guest arrives. The staircase you pass a dozen times a day deserves that much care, and it will repay you every time you come downstairs in the morning and see it glowing.
Frequently Asked Questions
How much garland do I need for a standard staircase?
Measure the banister run, then add about a third for swag drape. A twelve-foot banister needs roughly sixteen feet of garland, or two eight-foot strands twisted together for fullness. Buy one extra strand if you can, since a fuller garland always looks better than a stretched one.
Can I decorate a staircase with no handrail?
Yes. Dress the wall beside the stairs instead, with a slim garland on a picture ledge, small wreaths hung at stair height, or lanterns on the steps against the wall. A staircase without a rail often looks best with a lighter touch, so keep the display slim and let the architecture show.
Are real or faux garlands better for staircases?
Faux garland wins for most staircases because it holds its shape all season, does not shed needles onto the steps, and can be reused next year. Real garland smells wonderful and looks more natural up close, but it dries out, drops needles, and needs checking weekly, so save it for a short display or a well-ventilated hallway.
How do I keep garland from sliding down the banister?
Tie it at three points per run, top, middle, and bottom, using green floral wire or zip ties hidden inside the foliage. A middle tie is the one most people skip, and it is the one that stops the whole swag from creeping downhill over a few weeks.
When should I put up staircase decor?
Most households decorate the staircase with the rest of the house, usually late November or the first weekend of December. If your staircase is near the front door and guests arrive early, it is worth doing first, since it sets the tone for the whole visit before anyone reaches the living room.